How to Install a Security Camera System As Quickly & Simply As Possible! 🔐
Installing security cameras in and around your home can provide an added layer of safety and security for you and your loved ones. With the rise of smart home technology, installing security cameras has become easier than ever.
In this article, we'll take you through the process of installing security cameras, from choosing the right camera to setting up storage and customizing your settings.
➨ How to Choose the Right Security Camera?
Before you start installing your security camera, it's important to choose the right one for your needs. Here are some factors to consider:
☑ Resolution:
Look for cameras with high resolution, such as 1080p or 2K, for clear video quality.
☑ Field of View:
Choose a camera with a wide field of view, such as 120 degrees, to capture more of your surroundings.
☑ Night Vision:
If you want to capture footage at night, look for cameras with night vision capabilities.
☑ Weather Resistance:
If you plan to install the camera outdoors, make sure it's weather-resistant and can withstand extreme temperatures.
☑ Connectivity:
Consider cameras that connect to your smartphone or other devices via Wi-Fi or Bluetooth for easy monitoring.
☑ Motion Detection:
Look for cameras with motion detection features that can alert you to any suspicious activity.
☑ Two-Way Audio:
Some cameras come with two-way audio capabilities, allowing you to communicate with people in the camera's range.
Where to Install Security Cameras? 🔍
Once you've chosen your security camera, it's time to decide where to install it. Here are some tips for choosing the best locations for your cameras:
- Front door: Install a camera at your front door to capture footage of anyone who approaches or tries to enter your home.
- Back door: If you have a back door, install a camera there to monitor any activity in your backyard or driveway.
- Side doors: If you have side doors, consider installing cameras there to monitor any activity in your yard or neighboring streets.
- Windows: Install cameras near windows to monitor any activity inside your home.
- Nursery: If you have a baby or young child, consider installing a camera in their nursery to monitor their safety.
- Garage: If you have a garage, install a camera there to monitor any activity in your garage or driveway.
- Shed: If you have a shed or other outbuilding, consider installing a camera there to monitor any activity in your yard.
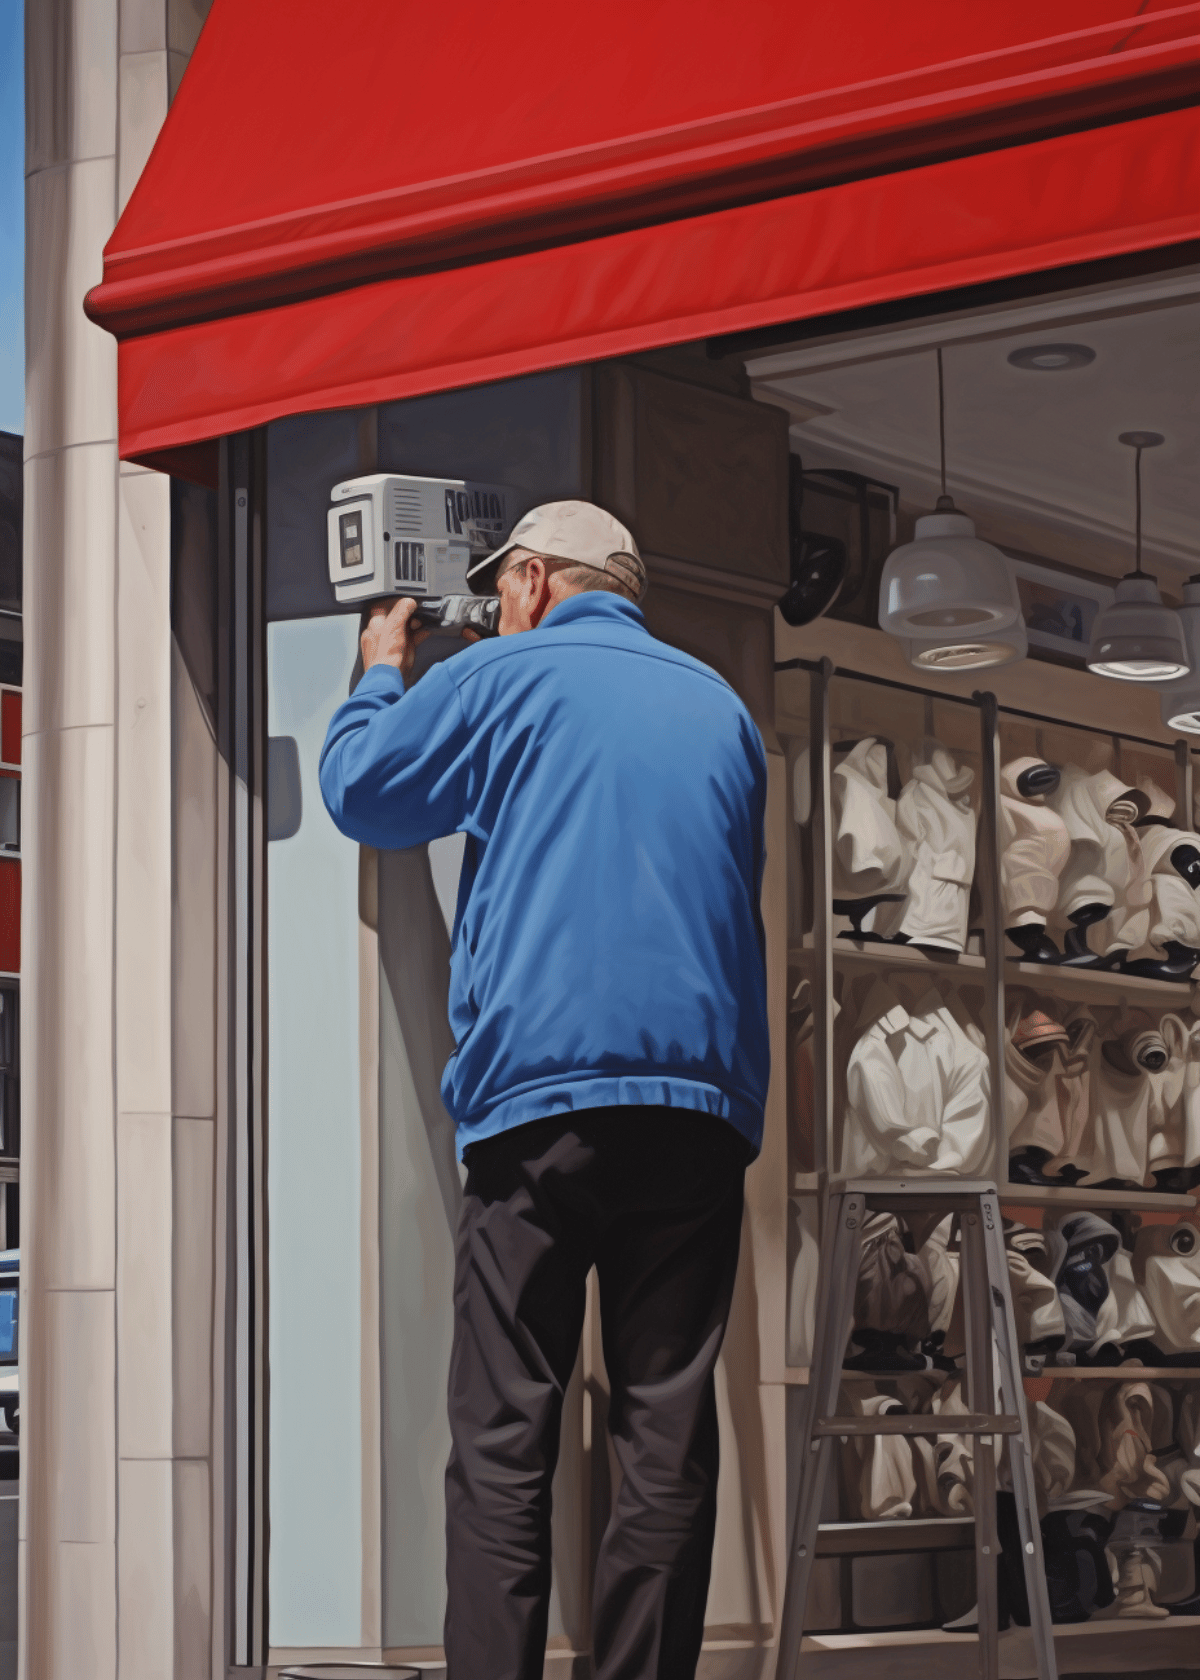
How to Install a Security Camera?❗🤔
Now that you've chosen your camera and decided where to install it, it's time to start the installation process. Here's a step-by-step guide to installing your security camera:
Step ①: Charge the Camera
If your camera comes with a battery pack, make sure to charge it before starting the installation process.
Step ②: Download the App
Download the app that your camera uses to your smartphone or other device. Some camera companies use different apps for different cameras in their lineup, so make sure to download the right app.
Step ③: Connect the App to the Camera
Once you have the app, you'll need to connect it to the camera. Follow the on-screen instructions to connect the camera to the app.
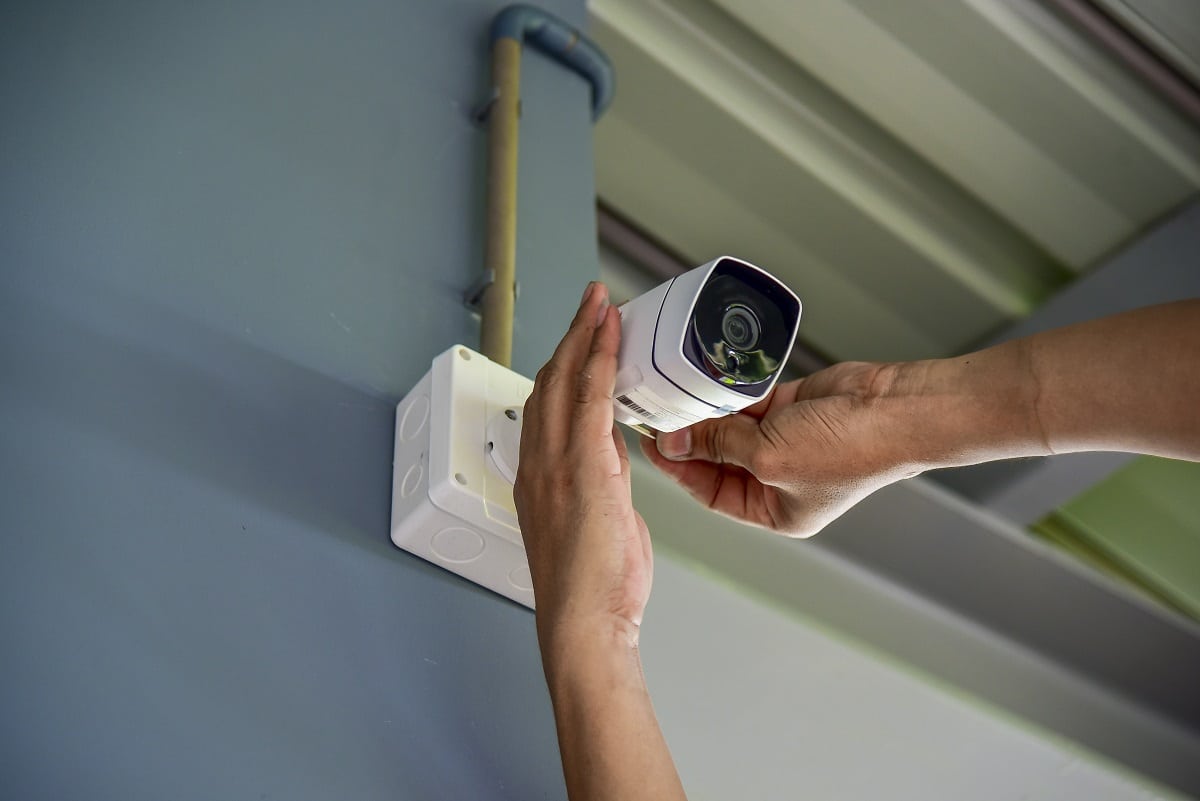
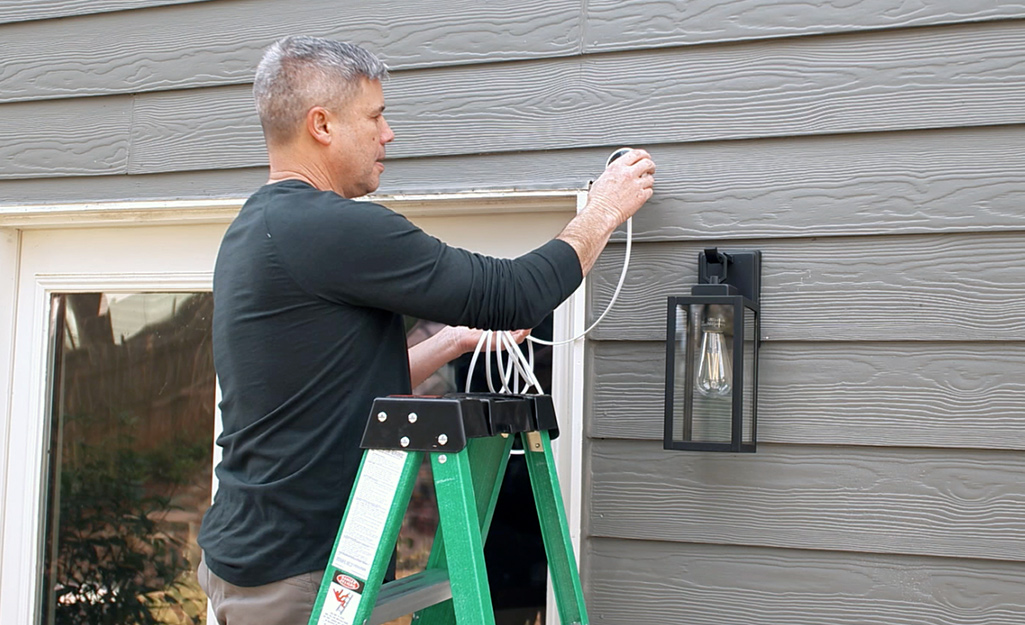
Step ④: Mount Your Camera
If you plan to move your camera frequently, you can place it on a table or shelf. However, if you want a more permanent solution, you'll need to mount your camera onto a wall or door frame. Locate the mounting bracket in the camera's box and follow these steps:
- Place the bracket where you want to place the camera and use a pencil to mark the spot where each screw will go.
- Make a pilot hole for the screws with a tiny drill bit. If you don't have a drill, hammer a finishing nail into the spot where each pencil mark is and then remove the nail. This will make it easier for the screws to go in without cracking the wood.
- Use the screws to secure the mounting bracket to the wall or doorframe.
- Attach the camera to the mounting bracket. Cameras usually twist onto the bracket.
Step ⑤: Set Up Storage
Now that the camera is installed, it's time to set up storage for your footage. Here are some options to consider:
- Cloud storage: Many cameras offer cloud storage options. Choose a plan that suits your needs and budget.
- Local storage: You can also store your footage on a local device like a DVR, computer, or NVR.
- SD or mini SD card: Insert the SD or mini SD card into the memory slot on the camera for local storage.
Step ⑥: Personalize Your Surveillance System
Now it's time to get creative! Open the app again and start experimenting with the various features to tailor your surveillance system to your preferences. Some common options to customize include:
- Motion sensitivity: Adjust the sensitivity of the motion detectors to minimize false alerts or maximize detection.
- Spotlight brightness: Adjust the brightness of the spotlight to illuminate the area effectively without being too harsh.
- Activity zones: Define specific areas where you want the camera to focus its attention, such as doors, windows, or a baby's crib.
- Detection zones: Set up zones where you want the camera to detect motion or other activities, such as a backyard or a garage.
- Camera brightness: Adjust the brightness of the camera to ensure clear footage, even in low-light conditions.
- Push notifications: Customize the notifications you receive from the app, such as alerts for motion detection or camera status changes.
Step ⑦: Enable Two-Factor Authentication
If your app offers two-factor authentication, take the extra step to secure your camera system. This feature adds an extra layer of protection beyond just a password, making it more difficult for hackers and thieves to gain unauthorized access to your camera feeds.
Frequently Asked Questions (FAQs) About Setting Up Security Camera Systems 💭
❓↪ How do you install Nest cameras?
Nest cameras are easy to install and can be placed almost anywhere in your home. Here are the general steps for installing a Nest camera:
- Download and install the Nest app on your smartphone or tablet.
- Connect your Nest camera to your Wi-Fi network using the app.
- Place your Nest camera in the desired location, such as a corner or on a shelf.
- Adjust the camera's angle and field of view to your liking.
- Name your camera and set up any additional features, such as motion detection or alerts.
❔↪ Do you need Wi-Fi for wireless security cameras?
Yes, wireless security cameras need Wi-Fi to connect to your home network and transmit video footage to your devices. They typically require a strong and stable internet connection to function properly.
❓↪ What is a good, inexpensive wireless security camera system?
There are many affordable wireless security camera systems available on the market. Here are a few options to consider:
- Wyze Cam v3: This camera is a great value for its price, offering 1080p resolution, motion detection, and a weatherproof design. It's available for around $34.
- Reolink Argus 3 Pro: This wire-free camera offers 1440p resolution, a solar panel for charging, and a weatherproof design. It's available for around $149.
- Eufy Solo IndoorCam C24: This indoor camera offers 1920p resolution, motion detection, and a weatherproof design. It's available for around $42.
Conclusion - Wasn't That Easy!
In essence, the installation of security cameras demands thoughtful consideration and adherence to certain guidelines. Beginning with understanding camera etiquette, respecting privacy laws, and ensuring the comfort of household members are pivotal steps. Moving forward, strategic camera placement, encompassing areas like the front and back doors, driveways, and nurseries, optimizes surveillance efficacy.
The installation process, though seemingly straightforward, entails several crucial steps. From charging the camera to downloading the corresponding app and establishing connectivity, each phase necessitates meticulous attention to detail. Mounting the camera securely, configuring storage options, and customizing settings further contribute to the seamless integration of the surveillance system into your home security infrastructure.
Additionally, exploring FAQs surrounding camera installation, such as those concerning Nest cameras or the necessity of Wi-Fi for wireless systems, offers clarity and ensures informed decision-making.
In summary, the process of installing security cameras is not merely a mechanical endeavor but a strategic and thoughtful endeavor aimed at safeguarding your home and loved ones. By following the comprehensive guidelines outlined in this article, you can establish a robust and effective home surveillance system tailored to your specific needs and preferences.